
How to Make a Dress Part 6: The Collar
All last week (half-term) my brother had a cold, and now I have it, so I will just make this post about the collar. Sorry to cut it short.
How to Make A Collar
Sometimes (in better patterns) there are two collar pattern pieces: the top collar and the under-collar. The top collar is the one that you will see when the garment is worn; the under-collar is like a collar facing (I think it's sometimes called that) and it goes underneath (hence the name).
 If you have not already interfaced the top collar, do so now. The top collar is slightly larger and a slightly different shape to the under-collar. This is so that the seams roll out of sight when the garment is finished; it also makes the collar a better shape. It makes it a little fiddlier to get the pieces ready to sew, but the end result is worth it.
Match up and pin the corners first, and then the raw edges, keeping the extra fabric of the top collar evenly distributed. Now hand-baste in place. You don't have to pin and baste the neck edge - you will only have to undo it again later.
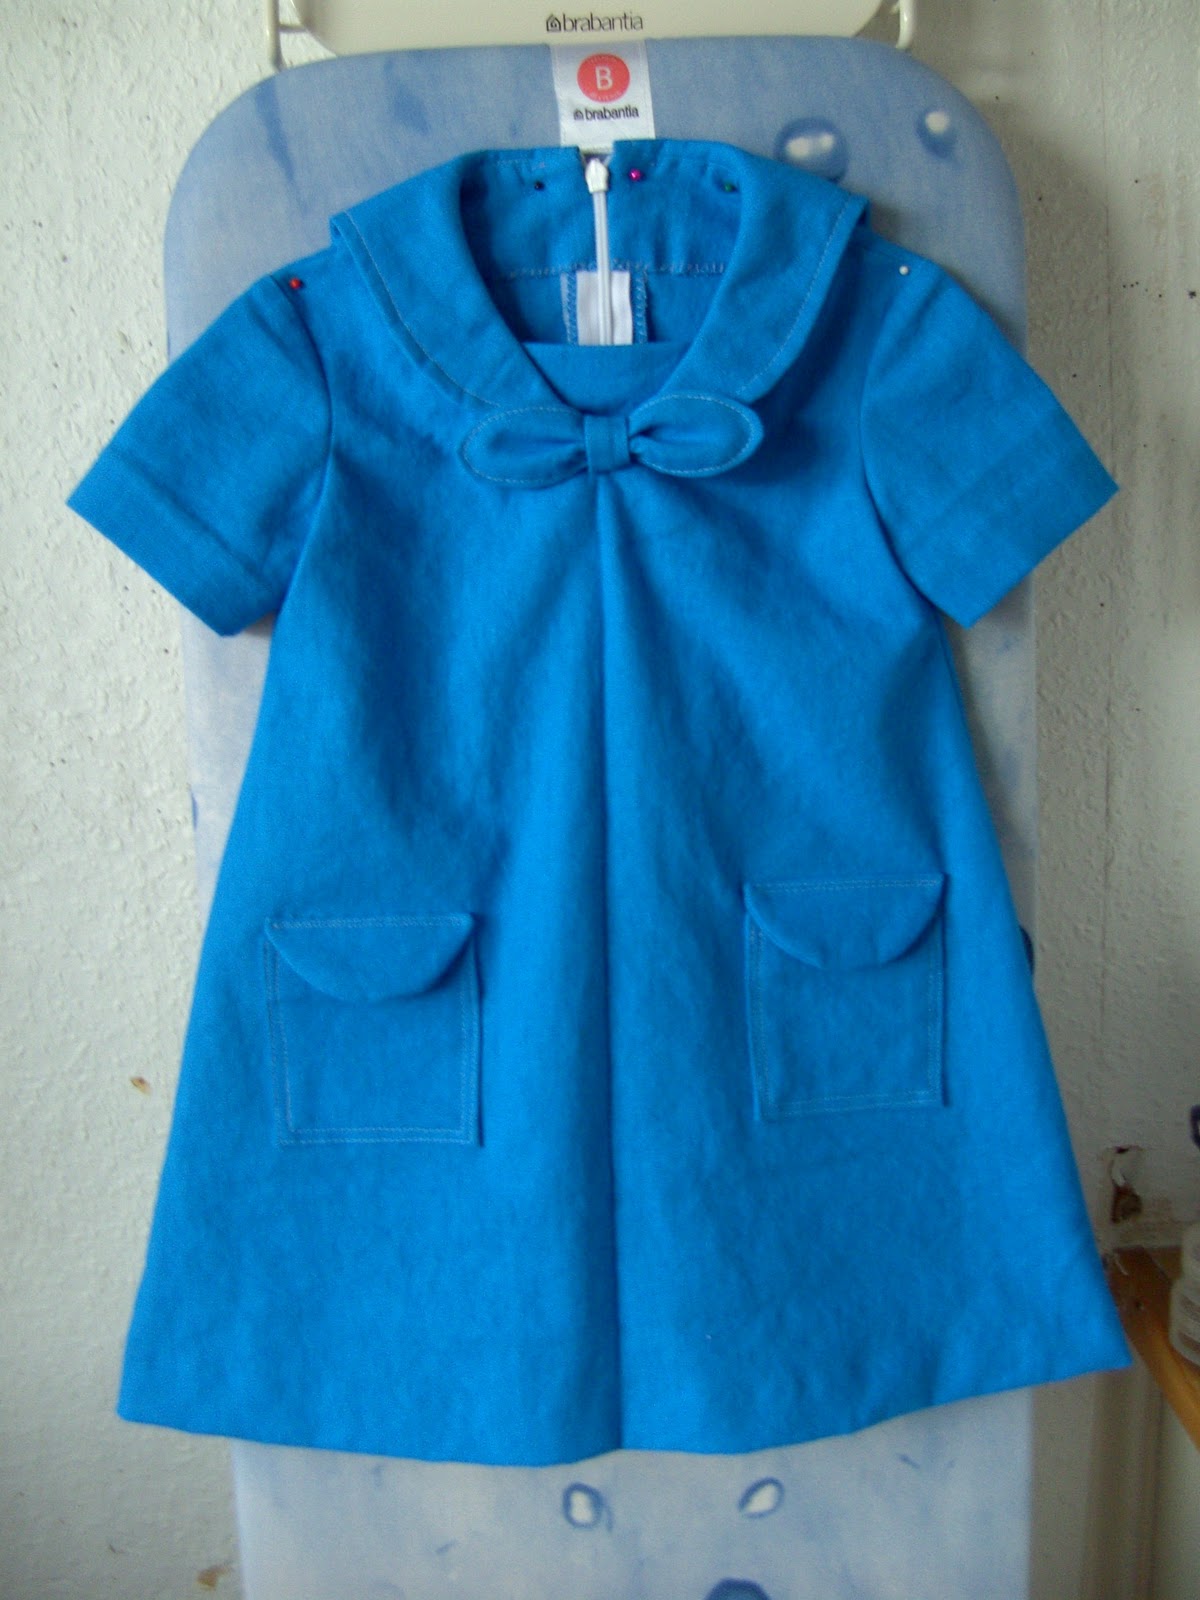
In the photo below, the under-collar looks rather wobbly because the larger top collar is eased onto it underneath (RS together).

Now you just have to sew from the back neck point to where the collar meets the front of the neckline. For the sailor collar I should have sewn right around the point to maybe 2 inches towards the neck to make it easier later, but I assumed that a sailor collar, being flat, would be applied like a Peter Pan collar. I was wrong, apparently, so these instructions are going to be for a Peter Pan type collar. : )
When you sew the corners, take a diagonal stitch or two. Ironically, this gives a sharper point when you turn it RS-out. It's because the fabric is thicker than paper and needs the space of the diagonal corner to lie flatter. Otherwise it will be all pushed together like inside the finger-tips of a glove.
Then you trim the seam allowance of the top collar to half. This will make it lie more smoothly when turned RS-out. You also need to trim the corners so that there will be less bulk. First, snip the corner off, about 1/8 inch out from the stitching, then whittle the seam allowances to a narrower point. I didn't take a photo of that so I've just whipped a drawing in Paint. It's a little scruffy, but I hope it serves its purpose.

Now you can turn the collar RS out and it is ready to sew onto the dress later.
I hope that helps!
Until next time, happy sewing!
Sabrina Wharton-Brown
The Sewing Corner Haberdashery, Hornsea, East Yorkshire, HU18 1AP
Labels: How to Make a Dress, sewing
posted by SWB @ October 31, 2011
0 Comments
![]()
![]()

0 Comments:
Post a Comment
Subscribe to Post Comments [Atom]
<< Home